Yes/No Options are part of the Setup Menu and are generally setup before the system is initially used.
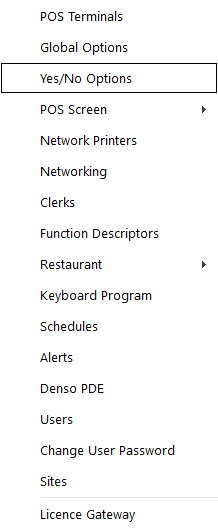
You can change them by going to Setup > Yes/No Options.
The window will open to the available size of the monitor.
Yes/No Options are used to apply settings to POS Terminals individually, allowing the terminal to operate as intended.
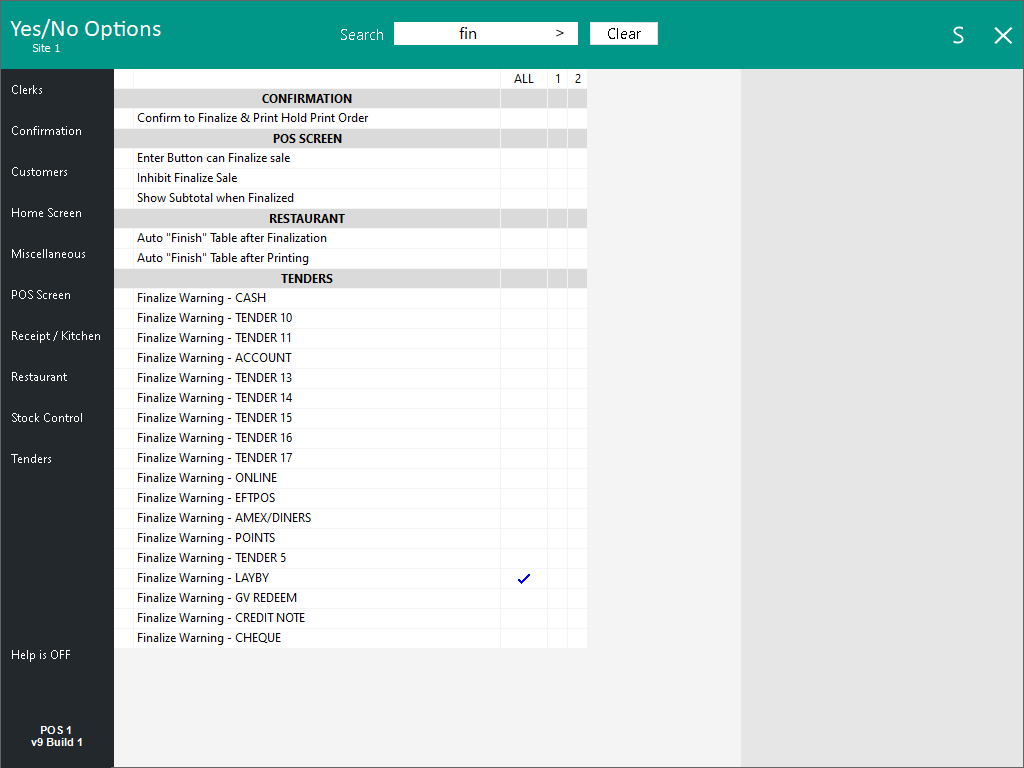
Yes/No Options have the ability to be searched for by keyword, which enables you to quickly find the option that applies to the function you want to use.
Entering a keyword into the keyword search field will search through all the Yes/No option tabs and display options that contain the text from the entered keyword.
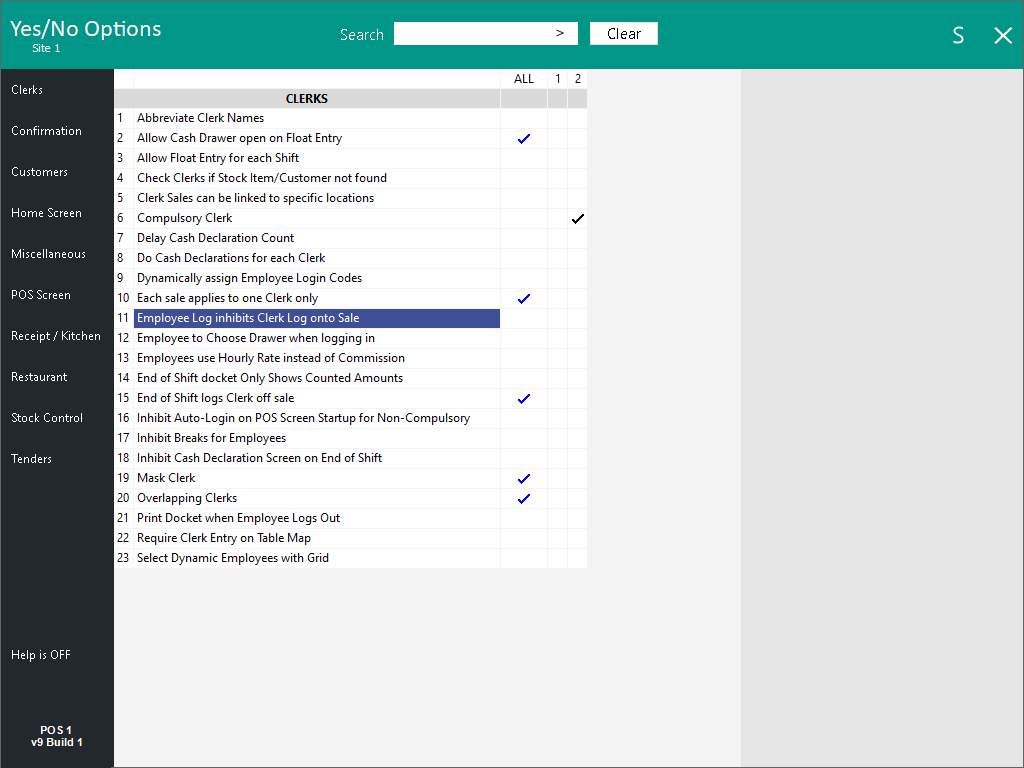
There are 10 different grouping columns that are used.
The groups are Clerks, Confirmation, Customers, Home Screen, Miscellaneous, POS Screen, Receipt/Kitchen, Restaurant, Stock Control and Tenders.

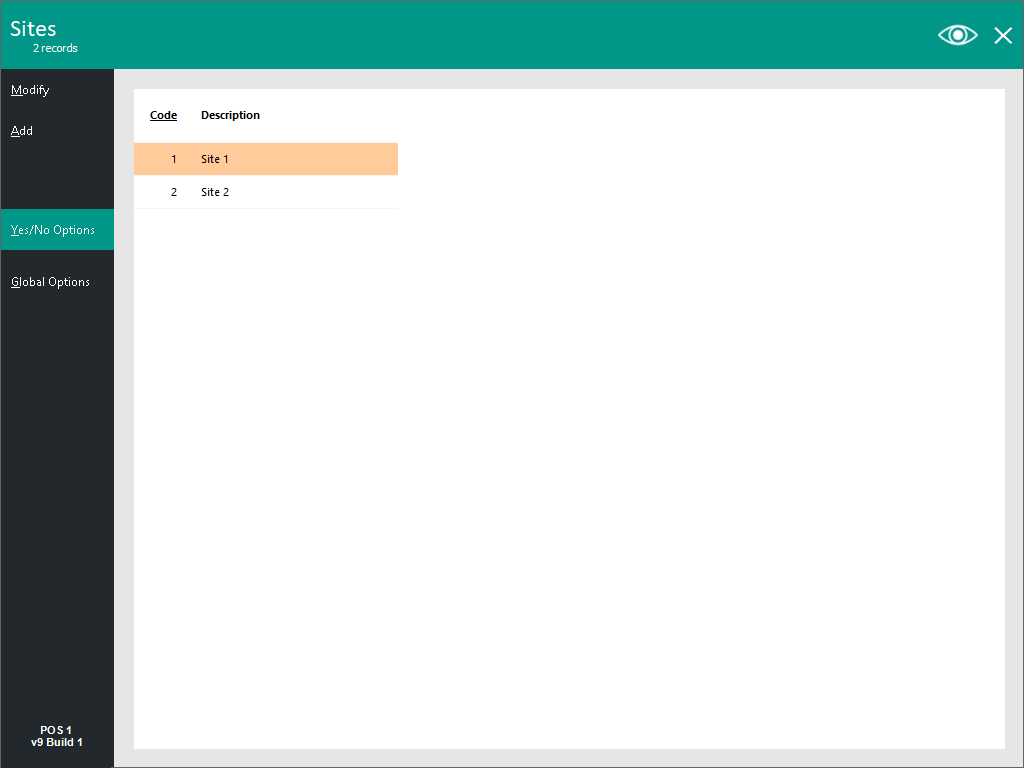
Yes/No Options are also controlled by Sites.
If you have more than 1 Site, you will only be able to access the Yes/No Options through the Sites menu.
Some Yes/No Options are only available when using an add-on license module purchased from Idealpos.
Go to Setup > Sites > Yes/No Options.
As there are over 350 different Yes/No Options within Idealpos, it is difficult to remember what each one does.
If you hover over the option text with a mouse, a pop-up will display containing basic information on what it does.
The information displayed is the same as the User Guide but without images.
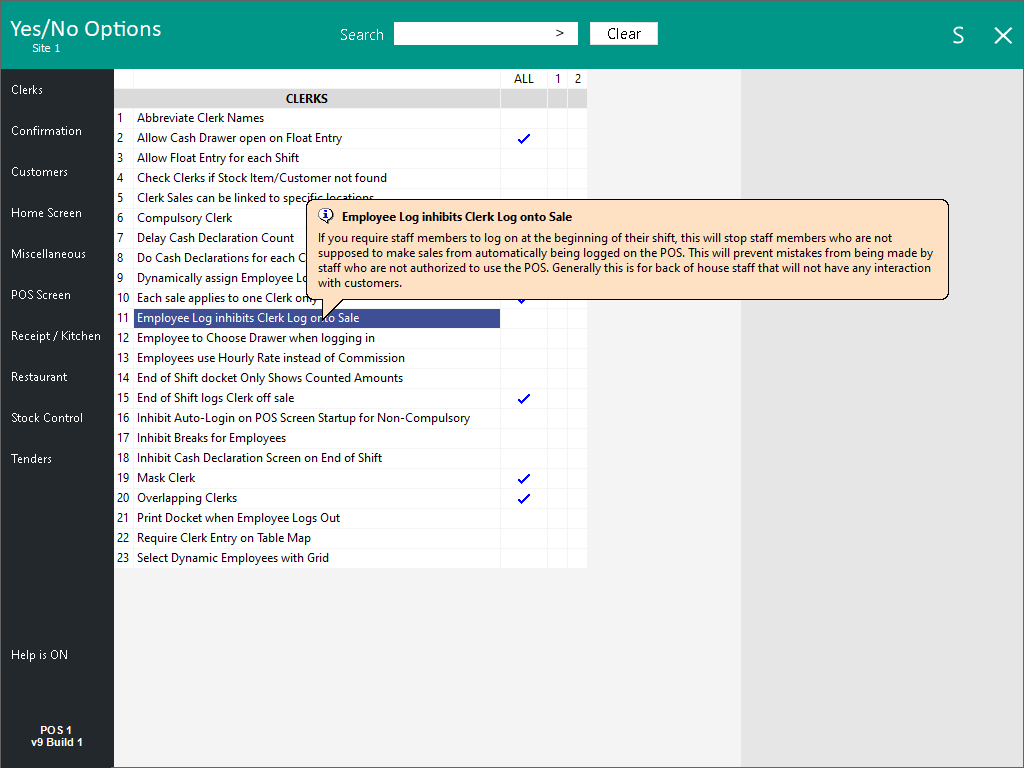
The Help Tips can be toggled on or off with the button on the bottom-left corner.
It will display Help is ON or Help is OFF depending on your choice.
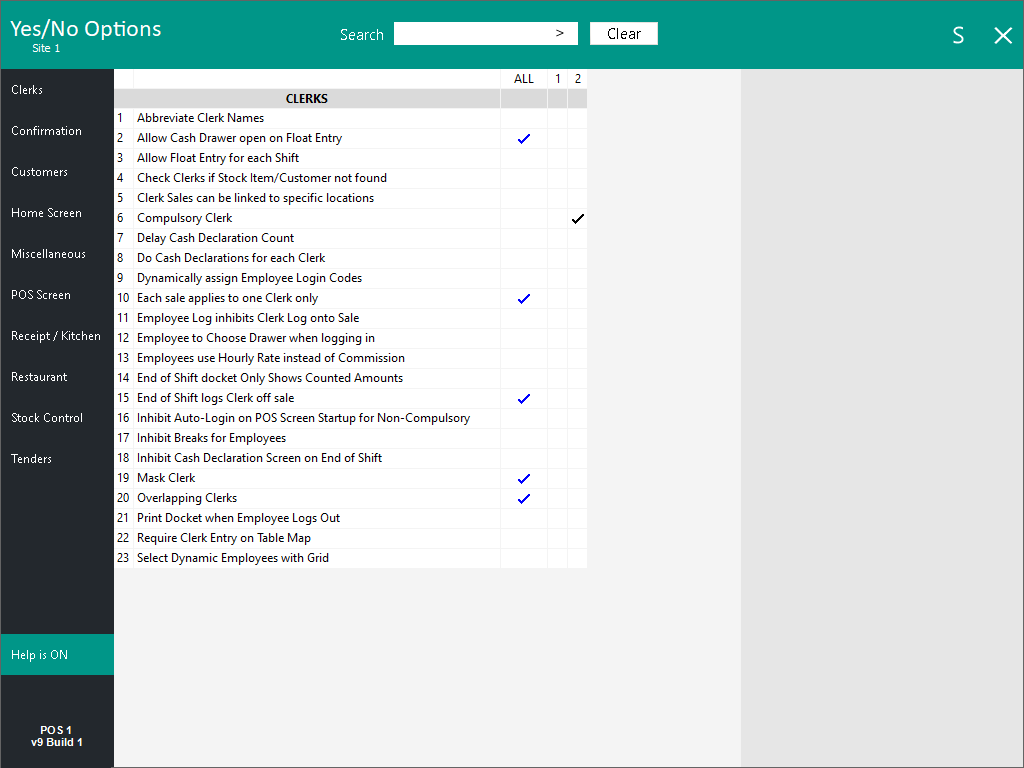
When it is turned off, the help will not display.